Saturday 28 November 2015

The last Rudolf days of 2015!

Well, that sneaked up on me! What a shock to realise that I have forgotten to sort out my post for the last Rudolf days of 2015! It was only when Sensei said there was only a month to Christmas that I twigged! I have been a bit busy doing work related stuff this week and will be next week too, so I'd better get it sorted now!

First are a couple of cards using a technique I saw Deby from Inkylicious demo at Doncaster in October. It involves dusting Kraft card with Memento Luxe white ink through a stencil. All stamps and stencils are from Inkylicious. Deby has a new blog up and running  and you can find it here. There are step by step instructions on there for this technique.
Next are some cards I made using Be creative Alcohol based markers. The first uses a woodware stamp...

The second was a freebie digi from Cuddly Buddly many moons ago, backed on Be Creative Winterland papers...

The third is another made with Teri Sherman's wonderful holly and rosehip wreath from Delicious Doodles.

The fourth is non-traditional colours, another of Teri's images, and a background made with another woodware stamp and Be creative glitter glue

Do pop over to Scrappy Mo's and take a look at the fabulous Christmas creations and join in if you can. Thanks, Mo for a fabulous year of getting me organised with my Christmas cards!
Thanks for looking!

Thursday 19 November 2015

A snippet make and Buster the Squirrel!

Hi There! I realise that it has been over a week since my last post, but I am working on a few things that I will share with you in due course. I thought I would pop on and share a snippet Christmas card and some photos.
 My card has a snippet of vellum and a snippet of green card that have been in my stash forever! The bauble stamp is a very old one from Stampourium (no longer available). I coloured it using be creative markers, then applied some flake and glitter using the be creative glue wand. Here is a close up.
 I'm taking it to Miss Di's snippet playground. Do pop over and join in the fun if you can. I am also entering this into the current challenge at Penny Black and More, which is Anything Christmas.
Now to introduce you to Buster. This may be Cyril, but I renamed him, due to the fact he is pigging out on my bird peanuts and is now enormous!


 As you can see he fills the bird house!
Thanks for looking!

Tuesday 10 November 2015

A snippet make

It has been a couple of weeks since I last made it to Miss Di's snippet playground. I seem to be generating more snippets than I am using with DT projects at present! I was putting together some samples for a workshop and decided to try making some faux patchwork with my snippets. these are all from the be creative winterland pad, which is 8x8" and I tend to make 6x6" or 5x7" like this one. The blue card is also a snippet. I am not sure of the make of the stamp as it is on loan and it is cling mounted. It belonged to the lovely Robert from Once upon a Stamp. I feel very honoured to be using it. I coloured it with be Creative alcohol based markers.
I hope everyone enjoyed the playground bonfire party, and are now recovered ;) I'd really love it if there is bonfire toffee left in the treehouse.
Before I go, if there is anyone who is in reach of junction 29 of the M1 and can make it to the Be Creative warehouse on 21st November, I am holding a Christmas colouring workshop 10.30-12.30. It will be a very relaxing session of colouring and creative fun! More details can be found on the Be creative facebook page about price and booking.
Here is a little taster of some of my sample cards
Hoping to encourage some more snippet usage!
I will leave you with a picture of my lovely Grandad. He volunteered for WWII and made it back from Dunkirk after sleeping in a hen house for 3 nights! He carried one of his comrades a couple of miles to the boats too. I like to remember him at this time of year, as much for the lovely wild fruit picking walks we shared as for his heroism.
  Thanks for looking!


Sunday 8 November 2015

Christmas foliage and some autumn photos


Here is a very quick card I made whilst experimenting! I was wondering if I could use the Be Creative glitter glue through a stencil, and look! It worked. I used a cheap and cheerful card blank, and when I try this again I will use something a bit more substantial! However, I did discover that the glitter glue will stand heat, as I ironed it to get it flat again! The Die is a frantic stamper one, and the border and gems are also from Be Creative. This would be a great card to enter into the challenge at Stamping Sensations this month and win the wonderful prize below! It is such a shame I can't enter! Remember you can enter anything Christmassy with a flower/ foliage/ holly/ pine branch/ wreath etc!


I took my Camera when I drove up to Dad's today and stopped for a few minutes on the northern edge of Sherwood forest. There were lovely Autumn colours...


Then I saw this cloud passing over...
 so headed back to the car...
just as it's shadow reached me! By the time I had started the engine, the wipers needed to be on!
Hope you have managed to stay dry today!
Thanks for looking!

Wednesday 4 November 2015

A wreath for Christmas

I have been playing with my Be Creative alcohol based markers and a Digi stamp from Delicious Doodles. I love colouring Teri's images, and there is nothing better to colour with than these markers!
 After colouring the image I went round the edge with the Scarlet pen and then mounted onto a 6x6 card. I added a few spots of glitter and then put glossy accents onto the berries...
 Here is a close up. The colouring was done with just nine pens (43, 46, 48, 49, 3, 13, 131, 146 and 182)
When I turned it over to put the glue on I just had to take a photo of the reverse side - sometimes they are just as beautiful as the front! Be Creative products will be at the NEC on stand F15 from tomorrow!
I am entering this into the current challenge at Allsorts where the theme is Christmas. It would be ideal for the current theme at Stamping sensations where there is a wonderful prize on offer - shame I am on the DT, lol!
Thanks for looking!

Tuesday 3 November 2015

Tree star tutorial

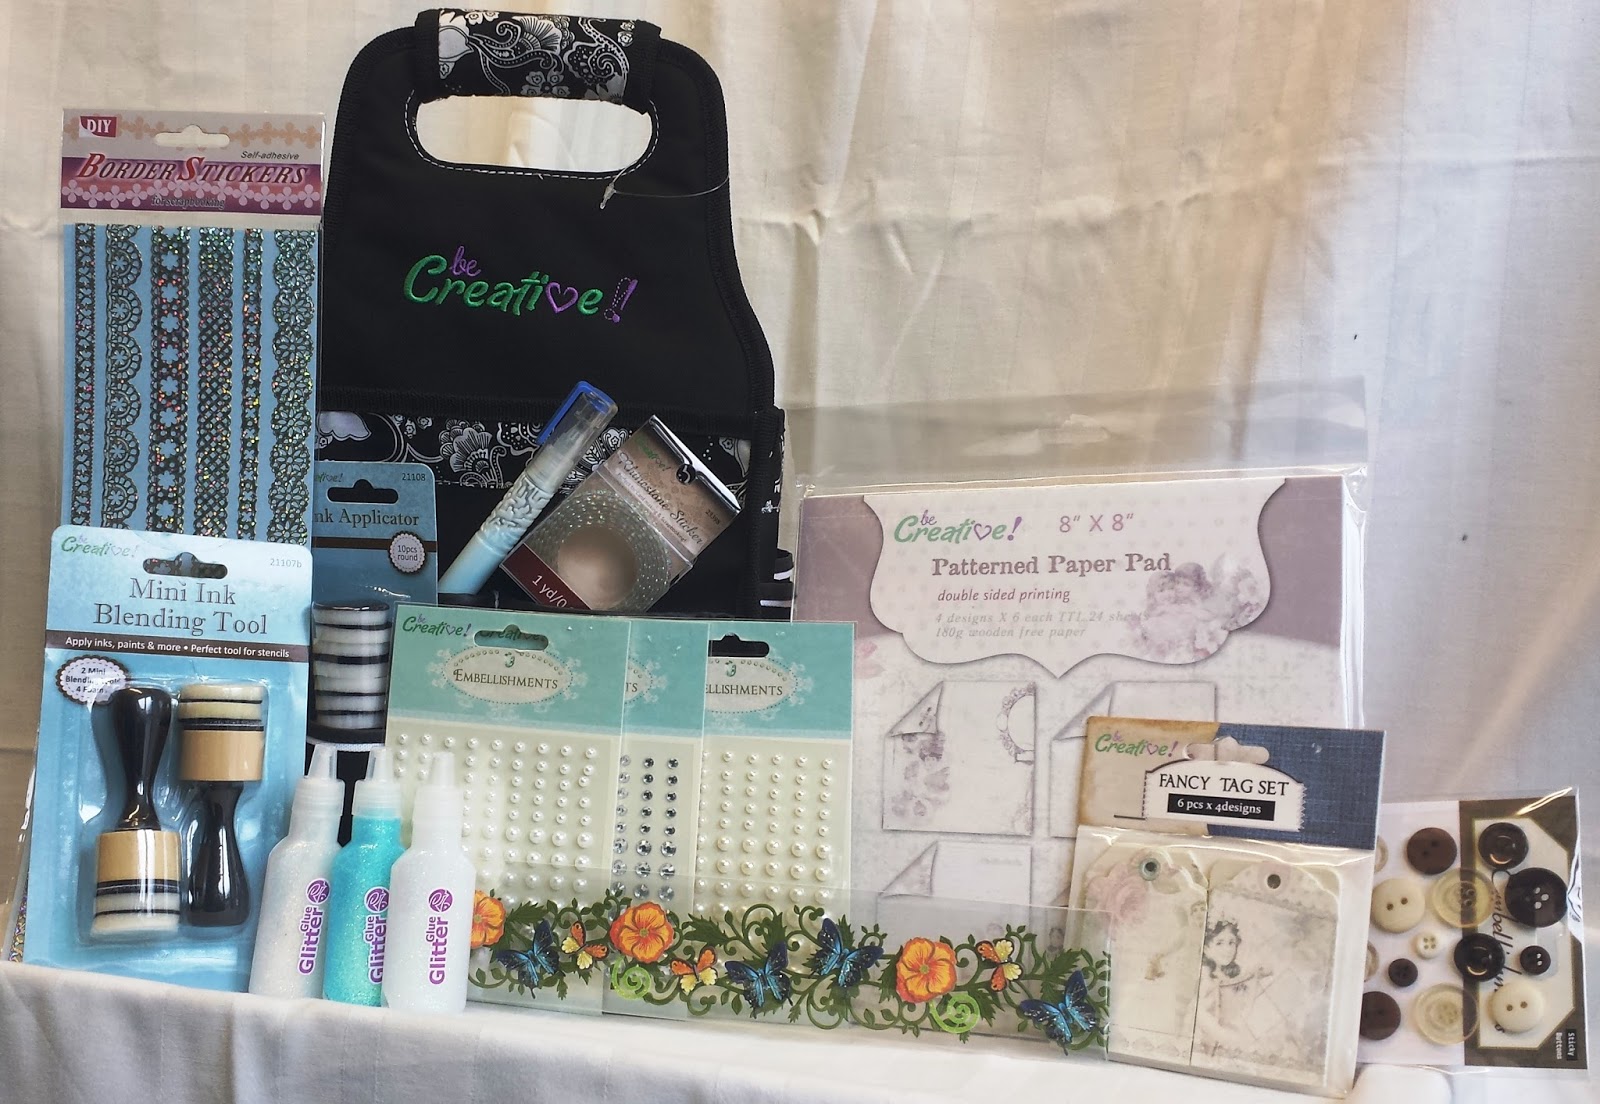
To make the tree star you will need Jus-cutz scalloped star dies, a Be Creative glue wand, some double sided tape, some good quality, 160gsm papers (like these Winterland ones from Be Creative) and a length of ribbon.
1.First cut two scalloped stars the same size. You can choose whichever of the dies you want to fit your paper.

 2. Next score from each point to the 'inny' opposite
 3. Fold, so each point of the star is a mountain fold and each 'inny' is a valley fold.
 Your star should look like this. Complete the steps above for the second star.
 4. Pinch the end of each point of the star so it is flat
 5. Add a blob of glue from the glue wand to each point except one
6. Pinch the points together, making sure that one point stays open. 
 7. Make a bow and a loop from the ribbon.
 8. Wrap the double sided tape around the loop of ribbon and attach inside the open point,  
 before pinching the final point together.
 9. Lay the star flat and attach the bow with the glue wand, trimming the ends of the bow as needed.
You can decorate your star with a stamped image, die cuts or lots of glitter or glitter glue - it is up to you.
All of the products used can be found at Once upon a stamp
Are you going to the NEC this week? If so you could pick up everything you need there! Just look out for 342Crafts.com
Hope you liked my tutorial. Thanks for looking!

Sunday 1 November 2015

Festive flowers and foliage at Stamping Sensations

 Good morning! It is the first Sunday in November and time for a new Challenge at Stamping Sensations. Our theme this month is Festive Flowers and Foliage, so show us your holly, ivy  flowers and mistletoe! Our Sponsor is a new sponsor called  'be Creative!'
Here is my card featuring 'be Creative!' Winterland papers.
I stamped the poinsettia (Penny Black) twice in versamark ink and embossed it with sparkle gold embossing powder before cutting it out and decoupaging it using 3d glue. I attached another of the papers from the pad to the front of the card and then attached the flower. I added a crafts too die cut holly spring and pearls to the flower. Finally I added the sentiment from the recent Creative Stamping magazine on a spellbinders die-cut, and a ribbon.
My second project is a tree decoration using the same papers. I used 'Jus-Cutz' scalloped star dies. I will be writing a tutorial for this very soon! The Prize is about £60 worth of fabulous goodies - feast your eyes on this!
 
                                http://1.bp.blogspot.com/-Q8_GjYk_vfU/Vh0w0hXeKBI/AAAAAAAAXgI/95HNZj3yx2s/s1600/prize.jpg
Now for a bit more about our new sponsor  'be Creative!'.
  have just launched a brand new range of craft products. They will be launching their new web site very soon but in the meantime you can keep up to date by following their Facebook page where you will see some of  the new products. You can also contact Gordon and Justin by phone on 01623 818910 . The products were recently very well received at their launch on Hochanda and will also be available at the NEC Hobbycraft show on 5th through 8th November. As a member of their DT I can honestly vouch for the quality of every single product!
Do pop over to the challenge blog and take a look at the wonderful creations from our DT, mostly created with  'be Creative!' papers.
Thanks for looking!